

As I was making Harry Potter themed potions for my toy room, I just couldn’t resist incorporating a little Disney into the collection with this adorable DIY Pixie Dust bottle. It’s very easy to make and just adds a little sparkle and magic to any toy collection 🙂
There’s no right or wrong way of making this prop, it’s just about being creative. The main thing you need to do is find the bottle of your choice and the glitter colours you’re going to work with. If you’re aiming for a Tinker Bell feel, green and gold are of course the way to go. However, you can choose any colour you like to match your room or collection.
Materials
You don’t need too many materials to make this prop and you can find most of these relatively cheap from your local craft store.
All you need is:
✧ A small craft bottle of your choice. Most craft stores such as Hobbycraft, Michaels, or Hobby Lobby will have small little cork bottles.
✧ Pixie Dust label of your choice. Google “pixie dust label” and choose and print your favourite . You may have to print the labels in different sizes to compare and choose the perfect size.
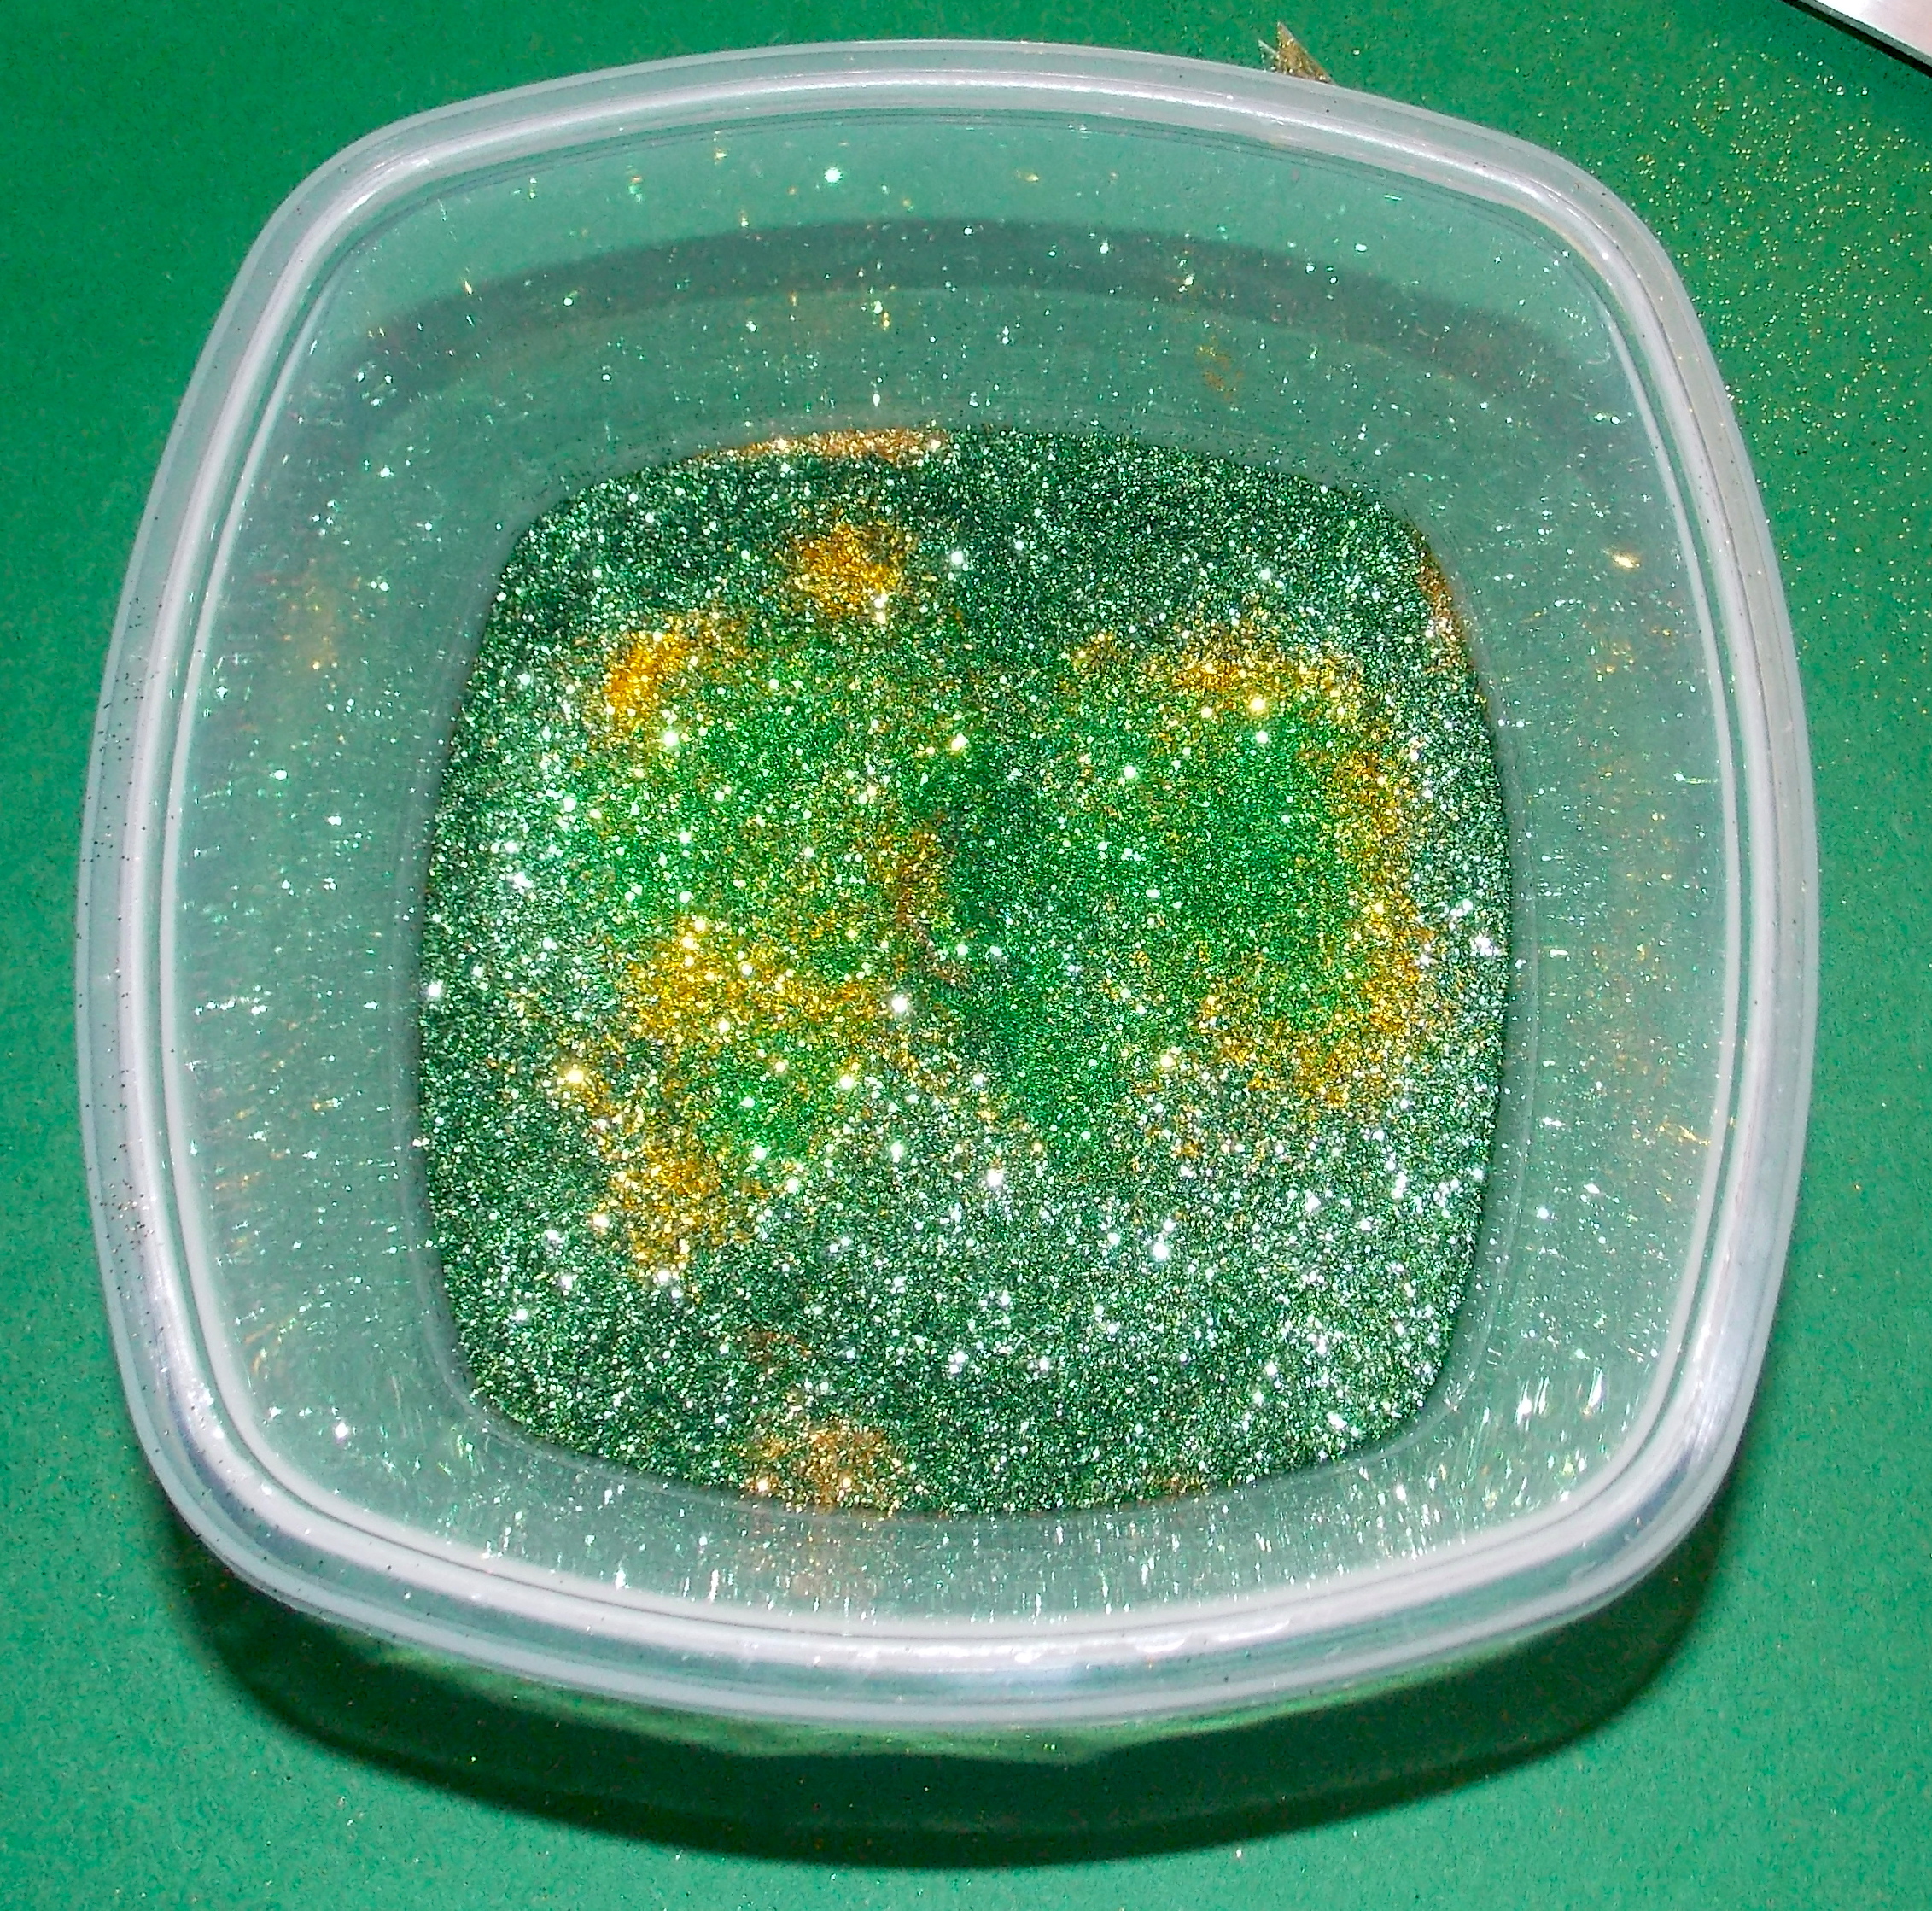
✧ Glitter packs in colours of your choice. I reccomend choosing two colours and then getting two different shades of each colour. This just adds a little more colour and variation in the bottle.
✧ Two ribbons matching the colours of the Pixie Dust.
✧ A little plastic cup or container to mix the glitter.
✧ Mod Podge to stick the label onto the bottle.
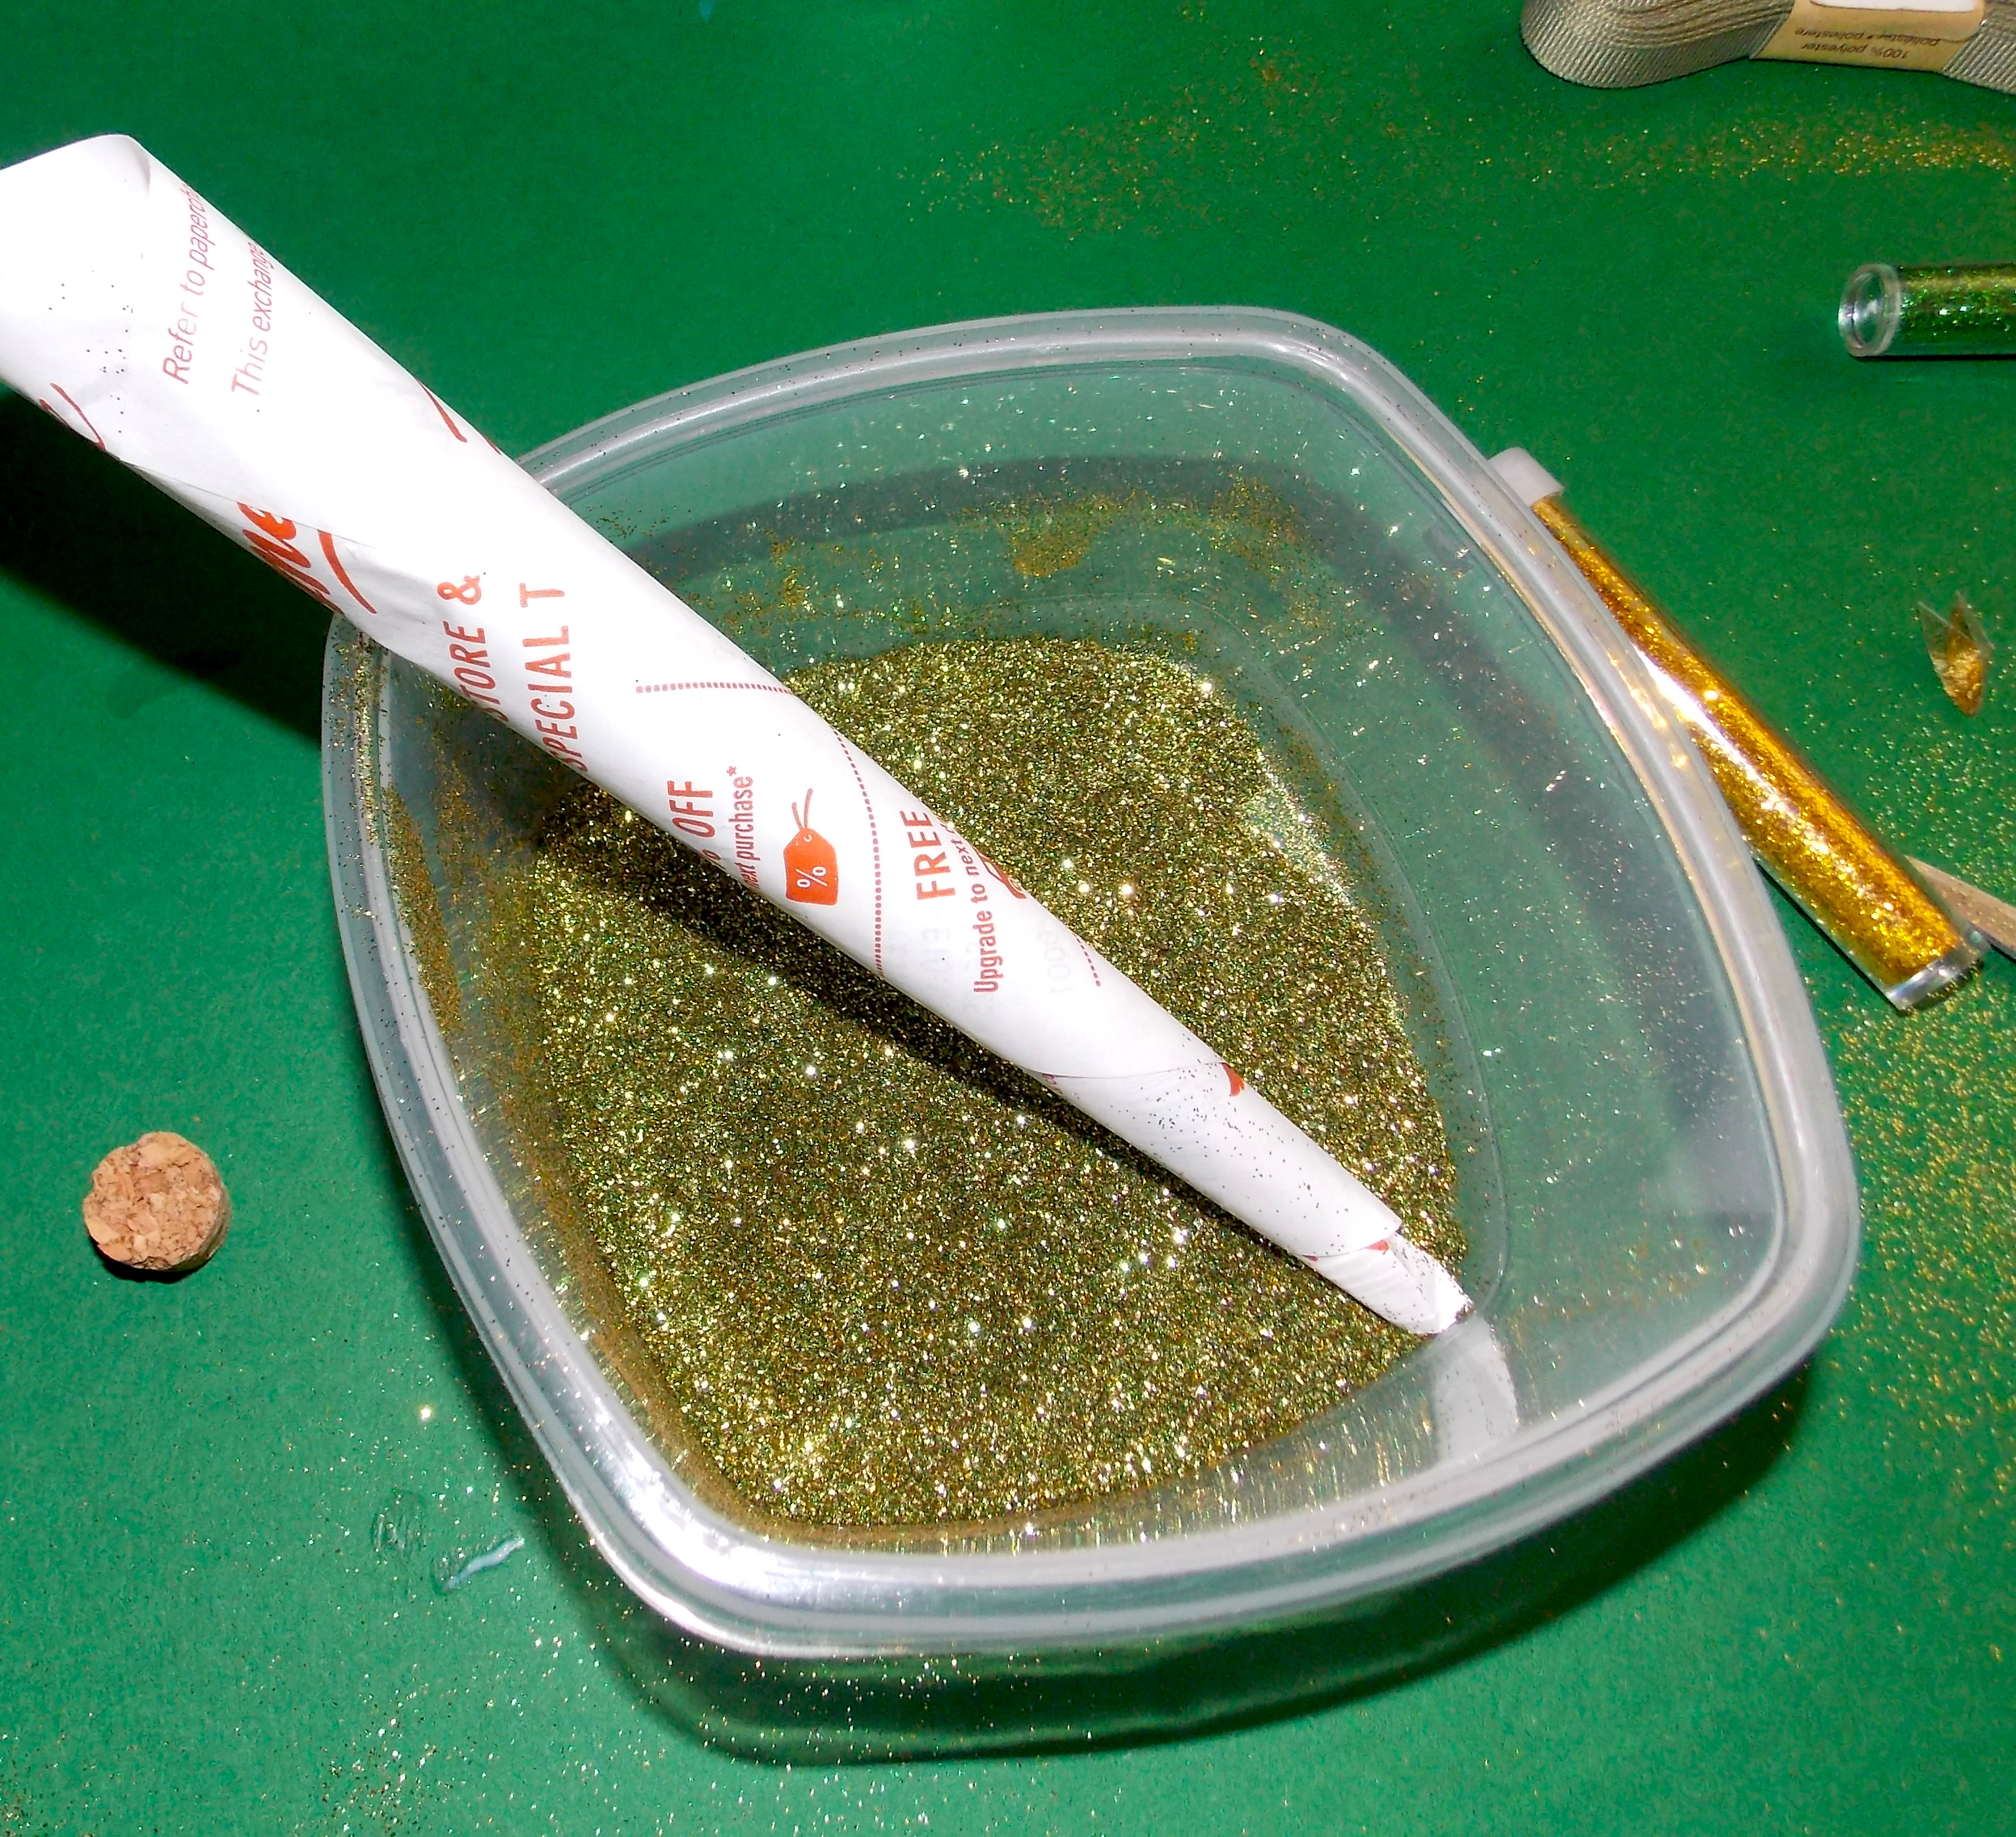
✧ Piece of paper to roll into a funnel to transfer the glitter into the bottle.

Directions
First I mixed the glitter together in my little container. I did this by making a layer of one colour, then making a layer of the second colour, then adding a third layer of the first colour in the second shade, and then a fourth layer of my second colour in the second shade. I repeated this until I felt I had enough glitter to fill my bottle. Then I mixed the glitter together and added a little more gold glitter until I felt I had the perfect balance.
Next I glued my label onto my bottle. Make sure the glue has completely dried before moving on to the next step otherwise the glitter will stick everywhere.
Once the glue has dried, I transferred the glitter into the bottle. I did this by making a funnel paper and slowly pouring the glitter in a little bit at a time until the bottle was full.
Finally I put the cork back in and wrapped two pieces of ribbon of equal length around the neck of the bottle. I didn’t do anything too fancy, I just double knotted the ribbon at the front and tried to add a little curl to the end pieces.
Difficulty –
This prop is really not difficult to make. All you need is the materials and a little bit of time and patience.
Bloopers –
Luckily I don’t any crazy bloopers for this project. I made this project without a glitch. The only problem I had was getting glitter all over the place, but luckily that is easy enough to clean. I also don’t mind a little glitter here and there, a little sparkle never hurst anyone 😉
All You Need is Love Trust and a Little Pixie Dust
This craft is easy to make and adds a little magic to your home or collection. If you don’t have the time to make this prop, there are plenty of fairy dust bottles floating around eBay and Etsy. I think a Pixie Dust bottle would be great as decor, a prop in a toy collection, or even as a little stocking stuffer!